
Hello :) It is time to crochet the next part of Thomas the train. In this part I give you "the recipe" for L-shape parts, the back, red and light grey base, the eyes and face sculpting.
***
Before you start I recommend you to read / watch:
ABBREVIATIONS:
• st = stitch
• sl st = slip stitch
• ch = chain
• tch = turning chain (at the end of a row)
• sc = single crochet
• inc = increase (2 sc in one st)
• dec = decrease (sc2tog)
• (..) = repeat the pattern particular number of times
• [..] = complete number of st in the round / row
• rnd = round
• BLO = back loop only
• FLO = front loop only
• FPSC = front post single crochet
• color – change the color of yarn (before you crochet the next stitches)
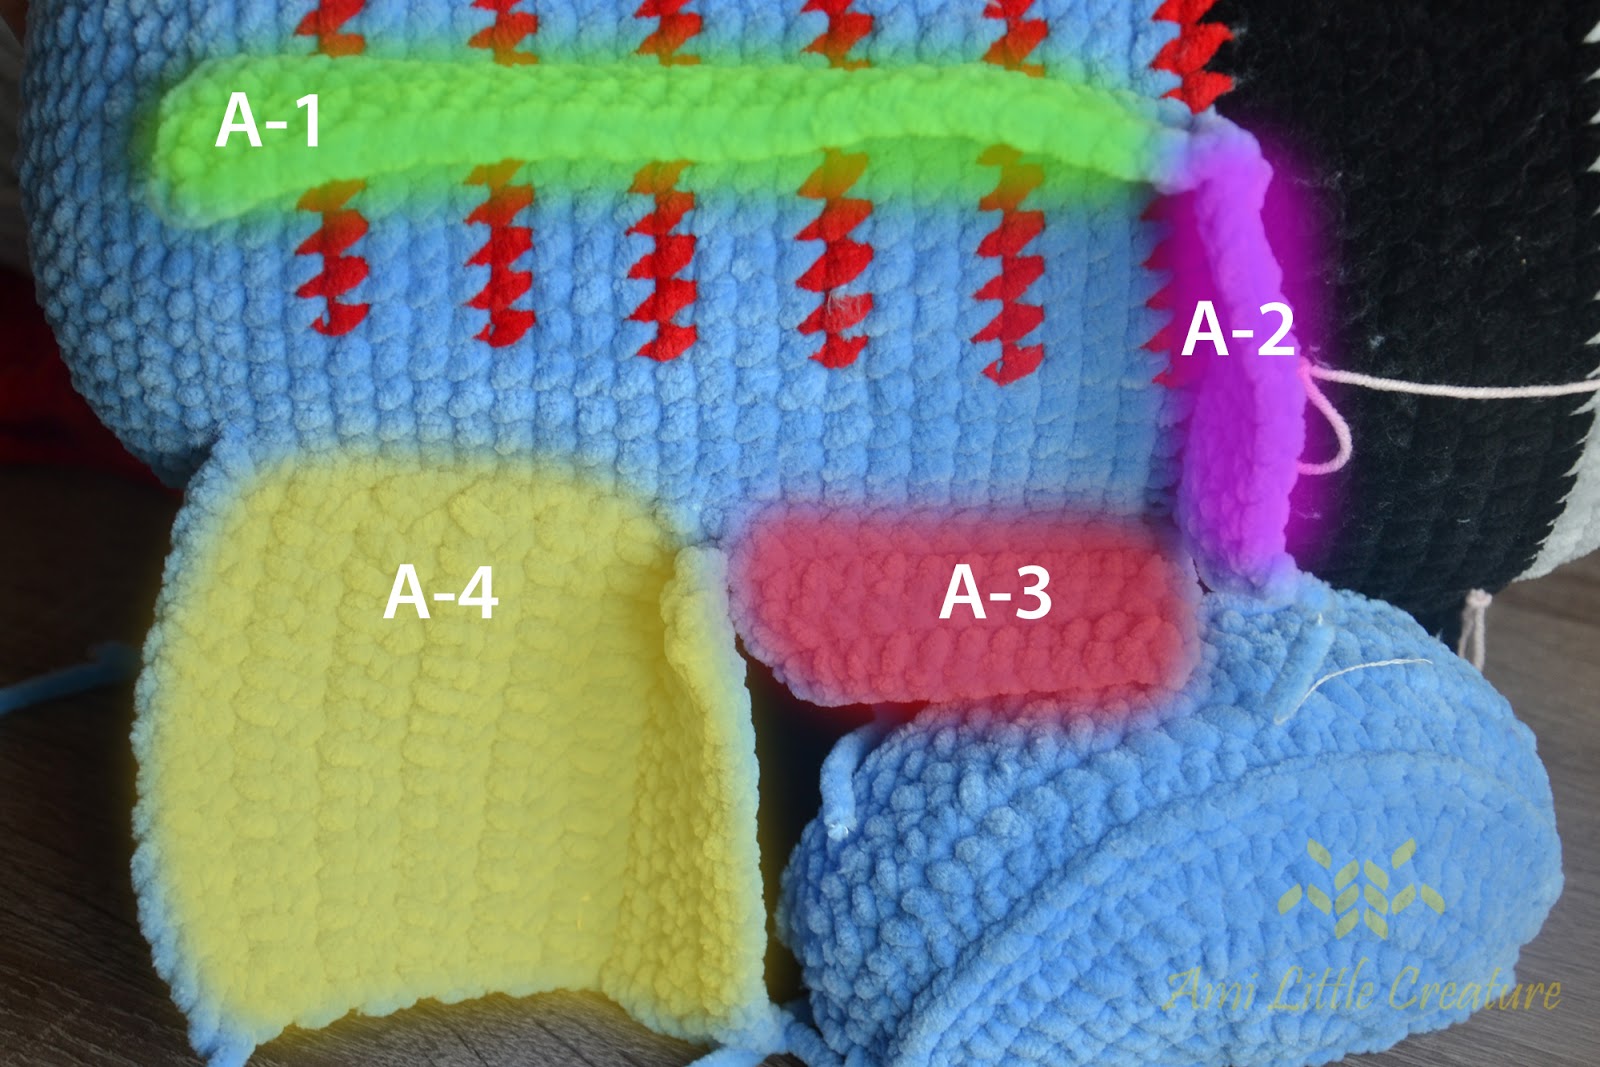
L-SHAPE PARTS
Now crochet the parts of "L" shape.Look at the picture below and check the following parts you will do.
You work in rows, in the end of every row crochet 1 tch and turn the work.
 |
| The right side |
 |
| The left side |
Part A-1 (green)
Part A-2 (pink)
Part A-3 (red)
Part A-4 (yellow)
Part A-5 (L-shape)
Part A-6 (the base of L-shape)
A-1 (the right side)
Count 6 sts up from the bottom sc of the red stripe (see: white pins at the photo).
Start from rnd 24 of the blue body (this is BLO round; red pin at the photo below) and insert the hook under the sts of the body.
Row 1: 24 FPSC, 1 tch, turn [24]
Rows 2-5: 24 sc, 1 tch, turn [24]


A-1 (the left side)
Start from the round where you crocheted the first red stripe (after the last round of the black part) and work in the same way as for the right side.

A-2
Row 1: 10 FPSC, 1 tch, turn [10]Rows 2-5: 10 sc, 1 tch, turn [10]
 |
| Crocheting the first row of A-2 on the left side of the train. |
 |
| A-2 on the right side of the train. |
 |
| A-2 on the left side of the train. |
A-3
Row 1: 12 FPSC, 1 tch, turn [12]
Rows 2-5: 12 sc, 1 tch, turn [12]
 |
| A-3 on the right side of the train. |
 |
| A-3 on the left side of the train. |
A-4
Row 1: ch 16, insert the hook in 2nd chain from the hook and work 15 sc [15]Rows 2-12: 15 sc, 1 tch, turn [15]
Row 13: BLO 15 sc, 1 tch, turn [15]
Rows 14-17: 15 sc, 1 tch, turn [15]
 |
| A-4 for the right side of the train. |
 |
| A-4 for the left side of the train. |
 |
| A-4 on the right side of the train. |
Join the adjacent edges of A-1, A-2, A-3 and A-4 with sl sts:


 |
| The right side of the train with edges joined. Then you will sew the L-shape |
A-5 (L-shape)
Row 1: ch 11, insert the hook in 2nd chain from the hook and work 10 sc [10]
Rows 2-11: 10 sc, 1 tch, turn [10]
Row 12: 10 sc, ch 16 [25]
Row 13: insert the hook in 2nd chain from the hook and work 25 sc, 1 tch, turn [25]
Rows 14-42: 25 sc, 1 tch, turn [25]
I marked with the white yarn the lines and later I will crochet the red lines (this was just the sketch that changed while working on the project).


Join the L-shape with edges
 | |
| The right side of the train. |
 |
| The left side of the train. |
A-6 (the bottom rectangle for L-shape)
Row 1: ch 13, insert the hook in 2nd chain from the hook and work 12 sc [12]Rows 2-5: 12 sc, 1 tch, turn [12]
 |
| Bottom view. On the left there is a black rectangle of the neck, then the wider rectangle of the semicircle, then the rectangle of L-shape (A-6) and finally a big rectangle of the back (B-2). |
***
THE BACK PART
Now crochet the back part.B-1 (on the photo below it is marked as a red rectangle)

In the end of every row crochet 1 tch and turn the work.
Row 1: ch 16, insert the hook in 2nd chain from the hook and work 15 sc [15]
Rows 2-20: 15 sc [15]
 |
| Side edges are joined with sl sts to the A-4 edge. |
B-2 (the bottom part)

In the end of every row crochet 1 tch and turn the work.
Row 1: ch 19, insert the hook in 2nd chain from the hook and work 18 sc [18]
Rows 2-30: 18sc [18]

B-3 (the back vertical part)
In the end of every row crochet 1 tch and turn the work.
Row 1: ch 31, insert the hook in 2nd chain from the hook and work 30 sc [30]
Rows 2-12: 30 sc [30]
Row 13: dec, 26 sc, dec [28]
Row 14: dec, 24 sc, dec [26]
Sew the part in FLO (rnd 25 of the body) - dashed yellow arch on the photo below:


B-4 (the sides)
Crochet the first row, inserting the hook in the upper edge of L-shape (x in the photo below).Start from the right side (adjacent to B-3 edge).
In the end of every row crochet 1 tch and turn the work.
Rows 1-10: 18 sc [18]
Rows 11-12: 14 sc [14]

 |
| The right side of the train. |
 |
| The right side of the train. |


 |
| This is the back view. Add stuffing inside the L-shape part. You see the yellow and purple markers to join the edges of B-3 and B-4 (the left and the right part). |
 |
| Join the edges of B-3 and B-4 (the right side). |
 |
| Join the edges of B-3 and B-4 (the left side). |
 |
| The edges of B-3 and B-4 (the left side) are joined. |
B-5 (the back)
In the end of every row crochet 1 tch and turn the work.In this part you will crochet BLO in row 36 and row 40 to create the bend.
Row 1: ch 31, insert the hook in 2nd chain from the hook and work 30 sc [30]
Rows 2-35: 30 sc [30]
Row 36 (horizontal part): BLO 30 sc [28]
Rows 37-39 (horizontal part): 30 sc [30]
Row 40 (vertical part): BLO 30 sc [30]
Row 41 (vertical part): 30 sc [30]
Row 42: dec, 26 sc, dec [28]
Row 43: dec, 24 sc, dec [26]

 |
| Crochet sl sts at the back in the row 36 to stiffen the bend. |
 |
| Crochet sl sts from the inside in row 40 to stiffen the bend. |

You get the train without the wheels. Stuff the train.


Then crochet the roof.
The black roof (upper part)
In the end of every row crochet 1 tch and turn the work.Row 1: ch 15, insert the hook in 2nd chain from the hook and work 14 sc [14]
Rows 2-30: 14 sc [14]
Join the sides with single crochets, not slip stitches. Add stuffing before you close the upper part (then you will have no possibility to add more stuffing).

THE RED LINES
I had to adjust the lines to the size of the windows, so I changed the placement of the lines. I crocheted sl sts inserting the hook in the stitches of the L-shape.

GREY BASE
Himalaya Dolphin Baby: light grey, crochet hook 4.5 mmStart with ch 33 (the width of the train), insert the hook in 2nd st from the hook and work:
Rows 1-60: 32 sc, 1 tch [32]
The size of the grey base = 21 x 43 cm
Sew the train to the grey base as shown in the photo below (the base is aligned to the back of the train):

RED BASE
Himalaya Dolphin Baby: red (two strands), crochet hook 9 mm(You may crochet the base similar to the light grey base with crochet hook 4.5 mm, but add more rows to get the bend parts in the front and at the back).
Start with ch 18 (the width of the train), insert the hook in 2nd st from the hook and work:
Rows 1-42: 17 sc, 1 tch [17]
The size of the red base = 21 x 49 cm
The size of the red base without the bends is the same as for the light grey base - bends are additional, so adjust their size to your train.

 |
| Stiffen the bend with sl sts for the front part (count approx. 4 rows for the front bend). |
 |
| Stiffen the bend with sl sts for the back part (count approx. 2 rows for the back bend). |
 |
| The bottom part - you will sew the wheels to that part. |
 |
| The top part with sl sts. |
The train is standing on the grey base, so now you may sculpt the face and add the eyes (if you want to you may do it in the end of the work to be sure that they are sewed in proper place).
FACE SCULPTING (the eye sockets and the nose)
I shape the face with Himalaya Dolphin Baby, light greyBefore shaping the nose I marked the nose and cheeks with other yarn. I added pins (the photo below).

Follow the instruction below (the numbers are given on the photo above). If you start from the same point, insert the needle one stitch away.
Don't be in a hurry - if you are not sure the final effect, try to shape the face with other contrasting yarn (to remove it later) and then try to repeat the same with invisible yarn or strong thread.
(2-1, 1-2) x two times
2-3, 3-2, 2-4, 4-1
1-7, 7-8, 8-5, 5-6, 6-7

EYE (make 2)
Pupil (make 2)
YarnArt Jeans, black, crochet hook 2 mm.Rnd 1: 6 sc in MR [6]
Rnd 2: 6 inc [12]
Rnd 3: (1 sc, inc) x 6 [18]

 |
| Before crocheting the white I cut it from paper to check the proportion. |
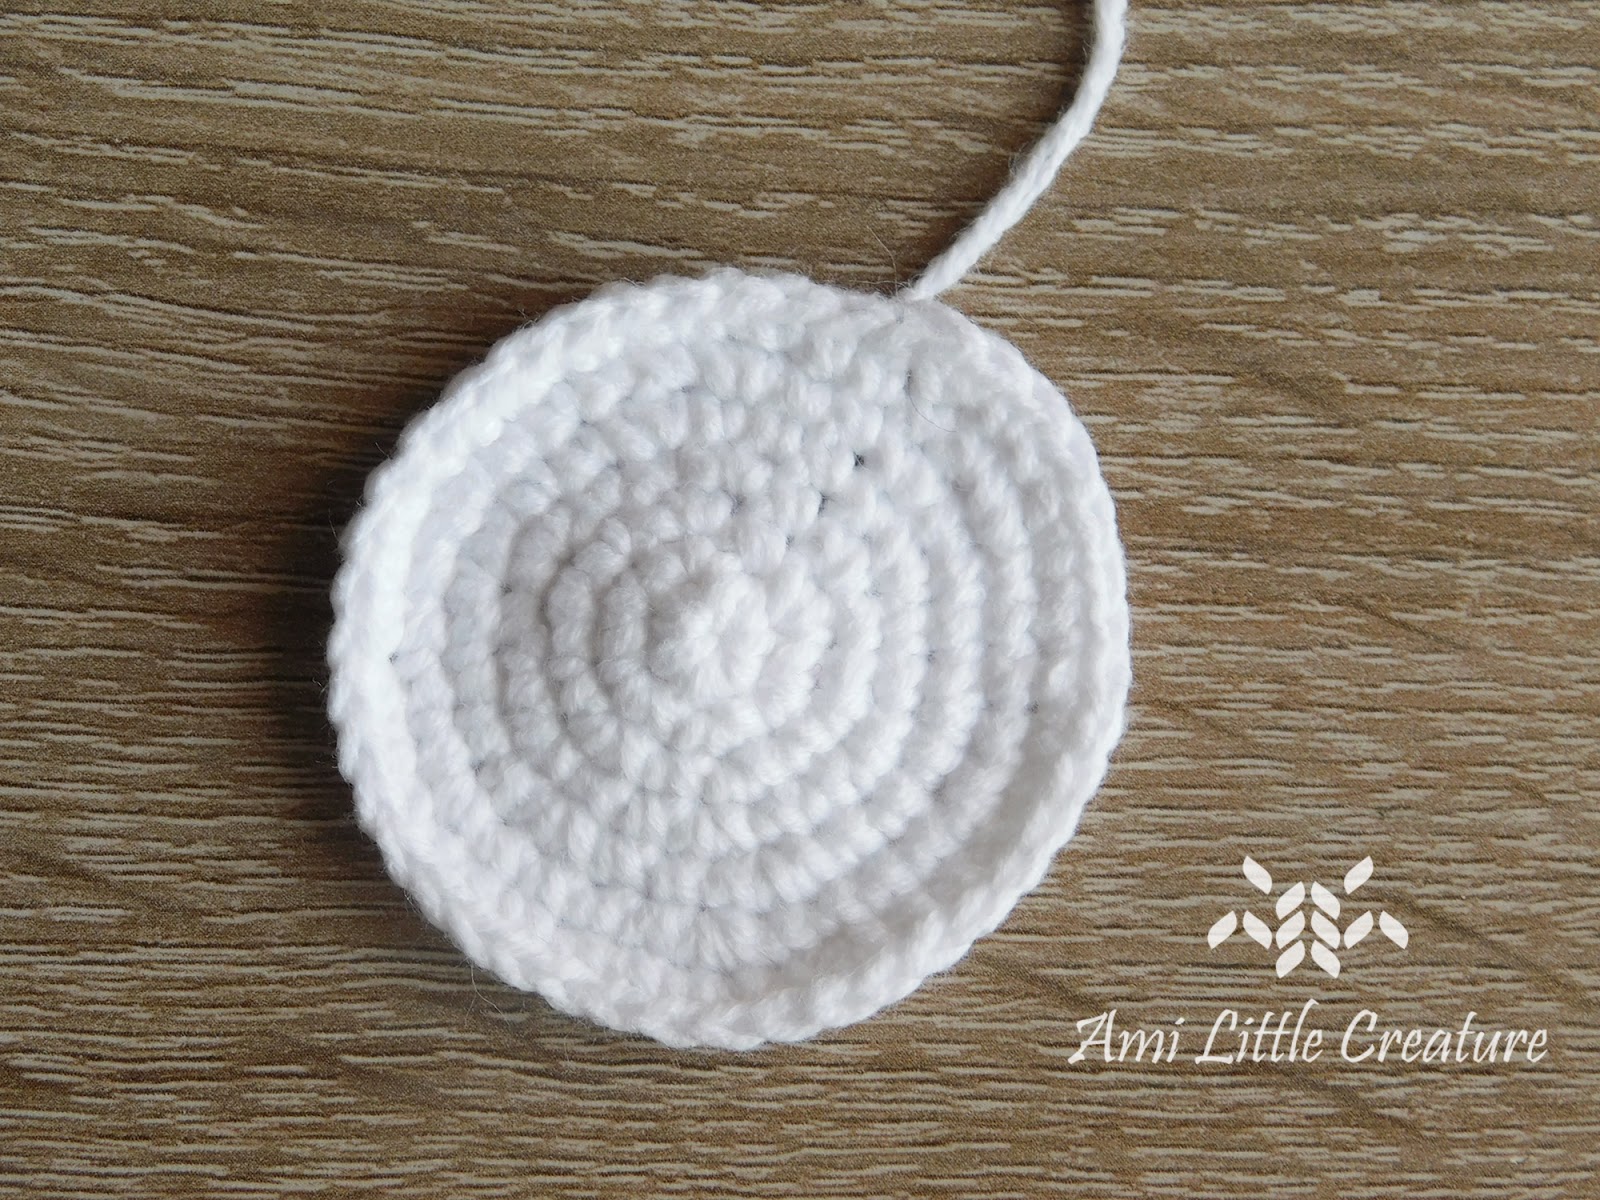
White (make 2)
YarnArt Jeans, white, crochet hook 2 mm.Rnd 1: 6 sc in MR [6]
Rnd 2: 6 inc [12]
Rnd 3: (1 sc, inc) x 6 [18]
Rnd 4: (1 sc, inc, 1 sc) x 6 [24]
Rnd 5: (3 sc, inc) x 6 [30]
Rnd 6: (2 sc, inc, 2 sc) x 6 [36]
Rnd 7: (5 sc, inc) x 6 [42]
Cut the yarn, leaving a tail for sewing (I do invisible finish, instead of slip stitch in the end).

SMILE / LIPS
Lower lip is between rnds 7-8. I insert the hook in row 1 under the stitches of the face (FPSC). I crochet the lips keeping the Thomas' face upside down.
Row 1: 12 FPSC, sl st, turn (no turning chain) [12]Row 2: sl st, 10 sc, sl st [12]
Upper lip is between rnds 6-7.
Row 1: 8 FPSC [8] |
| Upper lips (view upside down) |
Additionally I shaped the lips, embroidered them with HDB, inserting the needle vertically.


Train without the wheels is made. In next part I will show you how to crochet:
- wheels
- frame for the wheels
- details (windows, chimneys, light, stairs, number 1)
The train will be ready soon :)
You may print the post for your personal use (PRINT button is in the footer).
See you on Saturday 27th July!
UPDATE: PART 3 of the pattern

Please respect the copyright. This pattern is for personal use only. It cannot be sold. All commercial use without my permission is prohibited. If you crochet project based on my pattern, share the photo and please attach information on the source - link to my blog, YouTube and hashtag #amilittlecreature. I work really hard to prepare tutorials and written patterns. I hope you will understand it and be fair. Thank you!
Komentarze
Prześlij komentarz